In today’s digital age, where visuals play a crucial role in communication and marketing, knowing how to resize an image is an essential skill. Whether you’re a blogger, a social media enthusiast, a website owner, or a graphic designer, being able to adjust the dimensions of your images can significantly impact the quality and effectiveness of your content. In this article, we’ll explore the ins and outs of image resizing, from understanding the concept to practical tips and best practices.
Understanding Image Resizing
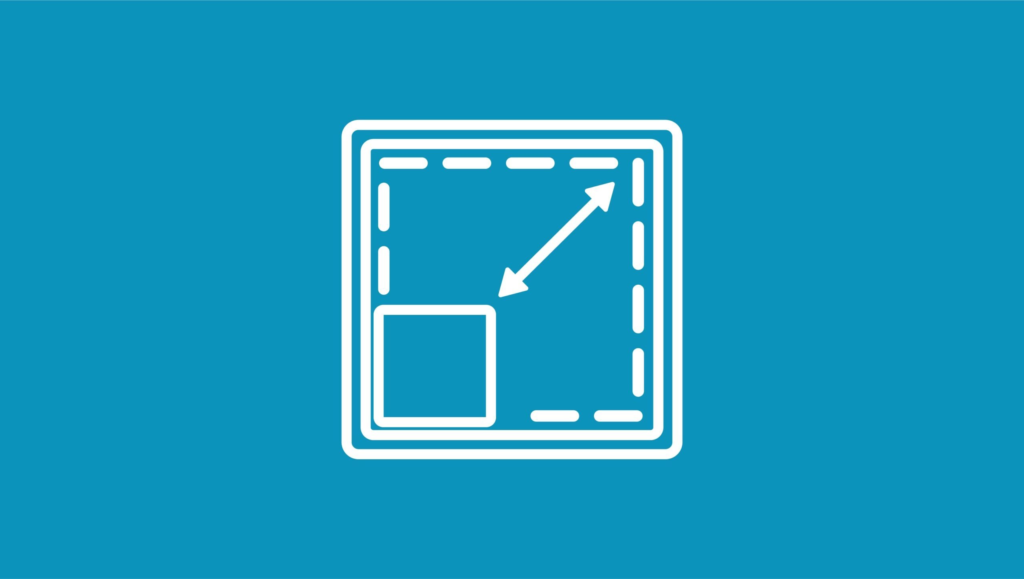
What Resizing an Image Means
Resizing an image involves adjusting its dimensions, either by making it smaller or larger. This process can be done without altering the image’s aspect ratio, ensuring that it retains its original proportions.
Common Reasons for Resizing Images
People resize images for various reasons, including optimizing them for web usage, fitting them into specific dimensions for social media posts, or reducing their file size for faster loading times.
Methods of Resizing Images
There are several methods to resize images, depending on your preferences and technical expertise.
Manual Resizing Using Software
Many image editing software, such as Adobe Photoshop, GIMP, or even simple tools like Microsoft Paint, allow users to manually adjust image dimensions.
Using Online Image Resizing Tools
For those who prefer a quick and hassle-free approach, numerous online tools offer image resizing services. Websites like Canva, PicResize, or ResizeImage.net provide user-friendly interfaces for resizing images within seconds.
Resizing Images with Code
For web developers and programmers, resizing images programmatically using libraries like PIL (Python Imaging Library) or GD (Graphics Draw) in PHP is a common practice.
Best Practices for Resizing Images
To ensure the best results when resizing images, it’s essential to follow certain guidelines and best practices.
Maintaining Aspect Ratio
Always maintain the original aspect ratio of the image to avoid distortion. Most image editing software and online tools automatically adjust the other dimension when you change one.
Choosing the Right File Format
Consider the purpose of the resized image when choosing the file format. For web usage, JPEG or PNG formats are usually recommended, while TIFF or RAW formats are preferred for printing.
Image Compression Techniques
To reduce the file size without compromising image quality, utilize image compression techniques. This can include adjusting the compression level or using specialized compression software.
Step-by-Step Guide to Resizing Images
Now, let’s walk through the process of resizing an image step by step.
Selecting the Appropriate Tool or Software:
- Choose the tool or software that best suits your needs and skill level.
Uploading the Image:
- Open the image you want to resize using the selected tool or software.
Adjusting Dimensions and Resolution:
- Enter the desired dimensions and resolution for the resized image.
Saving the Resized Image:
- Once satisfied with the adjustments, save the resized image in your preferred format.
Examples of Image Resizing
Resizing Images for Social Media Platforms
Different social media platforms have specific image size requirements for posts and profile pictures. Resizing images accordingly ensures optimal visibility and engagement.
Resizing Images for Website Optimization
Optimizing images for web usage by resizing them reduces loading times and improves website performance, especially on mobile devices with slower internet connections.
Resizing Images for Printing Purposes
When printing images, resizing them to the appropriate dimensions ensures high-quality prints without pixelation or loss of detail.
Common Mistakes to Avoid
While resizing images, it’s essential to steer clear of common pitfalls that can affect the quality and effectiveness of the resized images.
Ignoring Aspect Ratio
Distorting the aspect ratio of an image can result in unnatural-looking visuals. Always maintain the original aspect ratio or crop the image appropriately.
Overcompressing Images
Excessive compression can lead to loss of image quality and detail. Find a balance between file size and image quality to maintain visual integrity.
Not Testing Resized Images on Different Devices
Images may appear differently on various devices and screen resolutions. Always test resized images across different devices to ensure consistent quality.
Conclusion
In conclusion, knowing how to resize an image is a valuable skill in today’s digital landscape. Whether for social media posts, website optimization, or printing purposes, properly resized images enhance visual appeal and convey messages effectively. By following best practices and avoiding common mistakes, anyone can master the art of image resizing and elevate their content creation efforts.
FAQs (Frequently Asked Questions)
Can I resize images without losing quality?
- Yes, by using proper resizing techniques and compression methods, you can resize images without significant loss of quality.
What is the best image format for web usage?
- JPEG and PNG are widely used for web images due to their compatibility and compression capabilities.
How do I maintain the aspect ratio when resizing images?
- Most image editing software and online tools have options to lock the aspect ratio, ensuring it remains unchanged during resizing.
Are there any free online tools for resizing images?
- Yes, several websites offer free image resizing services, making it convenient for users without access to specialized software.
What is the ideal resolution for resized images?
- The ideal resolution depends on the intended use of the image. For web usage, resolutions between 72 to 150 pixels per inch (PPI) are typically sufficient.